Updating Images is a breeze thanks to Divi Builder which gives you all access to its modules. This tutorial teaches you a step-by-step easy approach instructing you on how to replace images and images URL with just a few clicks.
With the Visual Builder in play, you can launch this into Visual mode to see if you’re replacing the images right. So what are you waiting for? Let’s go!
1. Login to your WordPress dashboard.
2. Under Pages, go to All Pages.

3. Let’s go to the Home page, and hover over your mouse towards this section. Select Edit With Divi.

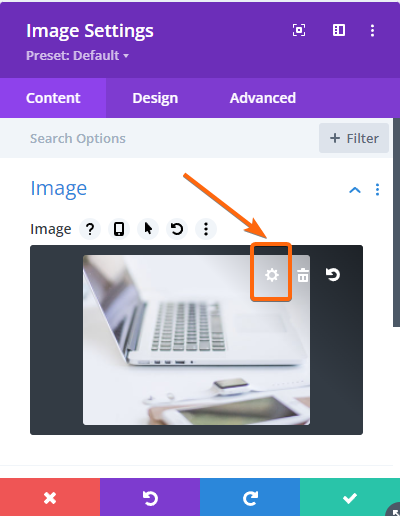
4. Point your mouse towards the image you want to update, and click on the gear icon to open the Settings window.
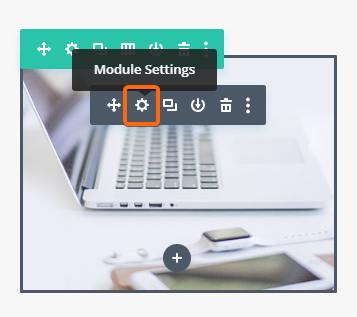
5. The Image dropdown will show the current photo on the selected block. Hover over the mouse over the current image, and click on the gear icon.
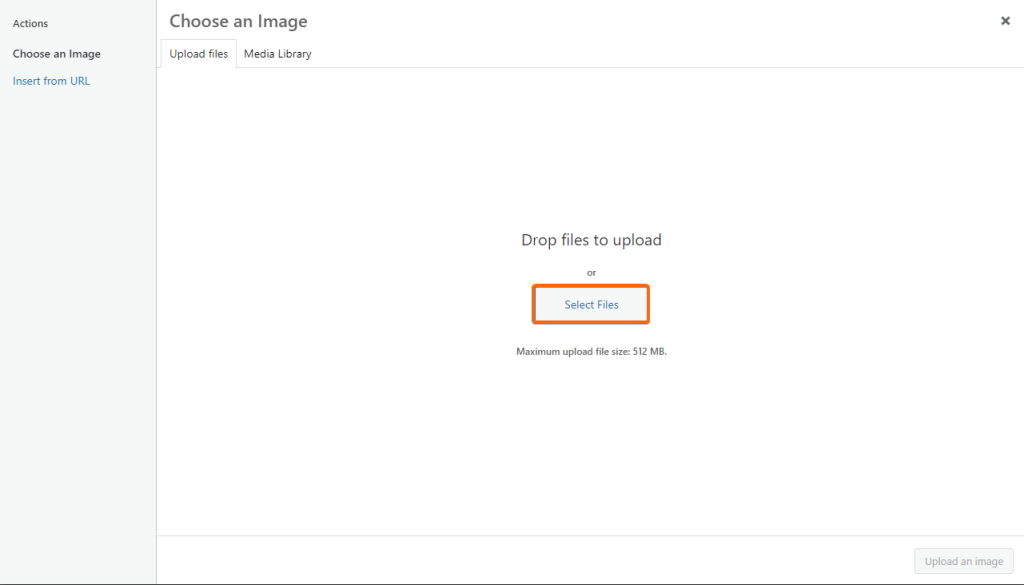
6. In this window, you can drag and drop your preferred image or click on Select a File.
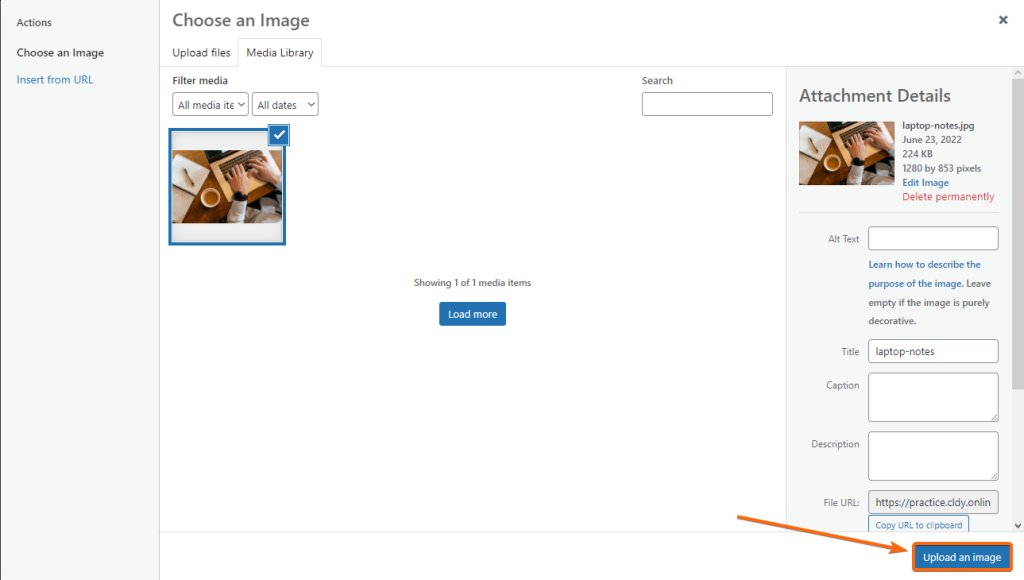
7. Once you have selected an image, it should show up on this window. Make sure the check mark is on your preferred image, then click on Upload an image.
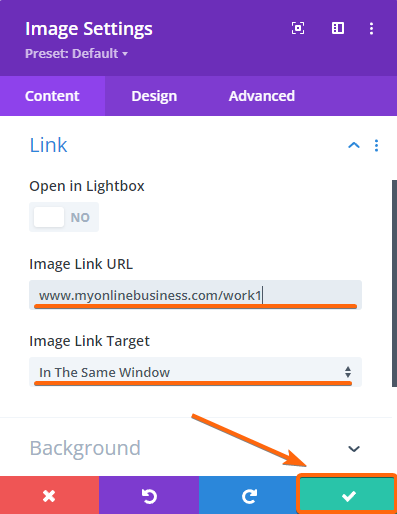
8.Scroll down to the Link section and update the URL. This way, when the user clicks on the image, they will be taken to your selected page. Also choose if you want the link to open in the same window or in a new tab. When you’re finished, click on the check button.
9. Update all images you wish to edit, and when everything is good to go, click on Exit Visual Builder at the top of the Divi Builder page.
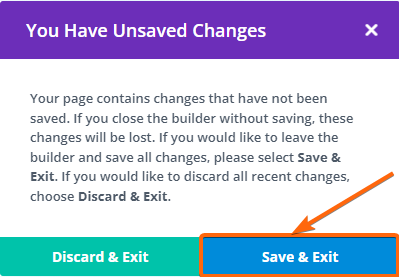
10. Click on Save & Exit, and that’s it!
Now you know why we build web pages in Divi themes because it’s so easy to drag and drop images without the need for technical skills or if you don’t have a web designer at hand. If you follow these steps, you’re on your way to updating your images to your desired visual and branding. Go and try it out for yourself!
