WordPress plugins are essential tools for enhancing your website’s functionality and features. However, at times, these plugins can cause errors that can impact your website’s performance and functionality. In this article, we’ll explore how to pinpoint and resolve WordPress plugin errors that you may encounter when running your website.
Detecting and Resolving Plugin Errors via WordPress
Here are the steps you can follow if you have access to WordPress:
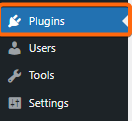
1. Deactivate all plugins. Go to the WordPress dashboard and select the “Plugins” menu.
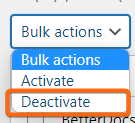
Turn off all the plugins on your website by clicking on Bulk actions, then select Deactivate.
After deactivating all the plugins, reload your website to check if the error is still there. If the error disappears, proceed to the next step. If the error persists, the problem may not be related to any of your plugins.
2. Activate plugins one by one. Reactivate your plugins one by one and reload your website after activating each plugin.
This process helps you identify the problematic plugin that’s causing issues on your website. If the error appears after activating a particular plugin, that’s the plugin causing the issue.
3. Look for alternative plugins. If you have identified the problematic plugin, you can either deactivate it permanently or look for an alternative plugin that serves the same purpose. To find an alternative plugin, you can search for plugins with similar functionalities on the WordPress plugin directory.
4. Check plugin compatibility. If the issue persists even after deactivating all plugins, the issue may be due to a plugin incompatibility with your current version of WordPress. To check plugin compatibility, go to the plugin’s documentation and ensure that it is compatible with your WordPress version. If the plugin is not compatible, you may need to look for an alternative plugin or update your WordPress version.
Detecting and Resolving WordPress Plugin Errors via cPanel
If you do not have access to your WordPress dashboard, you can do this by logging in to your cPanel account.
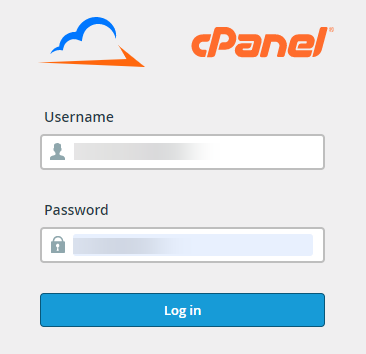
1. Log in to your cPanel account using your username and password.
2. Once you’re logged in, navigate to the File Manager section in cPanel.
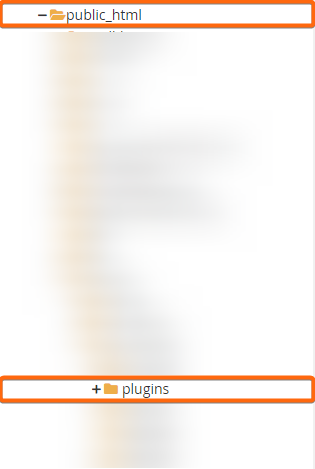
3. In the File Manager, locate the folder for your WordPress plugins. This is typically located in the “public_html” folder or a subfolder within it.
4. Rename the “plugins” folder to something else, like “plugins_old”. This step deactivates all your WordPress plugins at once.
5. Check your website to see if the issue has been resolved. If the issue is fixed, it means that one of your plugins is causing the problem.
6. To identify the problematic plugin, go back to the “wp-content” folder and rename the “plugins” folder back to its original name. Next, rename each plugin folder one by one, and check your website after renaming each folder to see if the issue is resolved. Once you find the problematic plugin, you can either deactivate it permanently or look for an alternative plugin.


