When do you need to edit your Hosts File
Hosts file (hostfile) needs to be modified in cases when you need to manually override the DNS (domain name system) for a specific domain. When you do so, your local computer can directly access the IP address that you have specified in your hosts file.
What you need to do is to add two entries: an entry for the IP address that you want the site to resolve, and an entry for one version of the web address of the domain. This is an example:
100.00.000.001 www.yourdomainhere.com
100.00.000.001 yourdomainhere.com
How to edit your Hosts File
Select your corresponding OS and follow the steps as provided:
For Windows
- Hit the Windows key from your keyboard.
- Search “notepad”.

- Once the search results come up, right-click on Notepad and click on Run as administrator.
- You may receive an alert “Do you want to allow this app to make changes to your device?” Click on Yes.
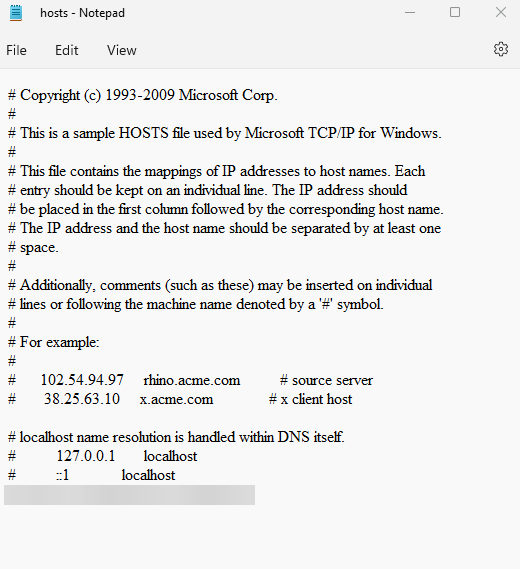
- From Notepad, click on File, then Open (or hit Ctrl + O from your keyboard), and search for this filename:
c:\Windows\System32\Drivers\etc\hosts

- At the last line, add the necessary information.
- Click on File, then Save, to save the modifications you have added.
For Mac
- From Finder, go to Applications.
- Then click on Utilities.
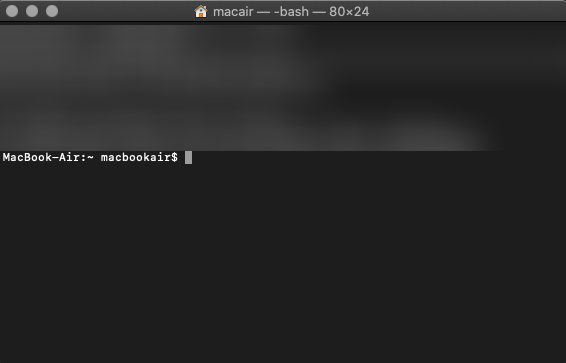
- And go to Terminal.
- The Terminal window will now open.
Enter the command as follows:
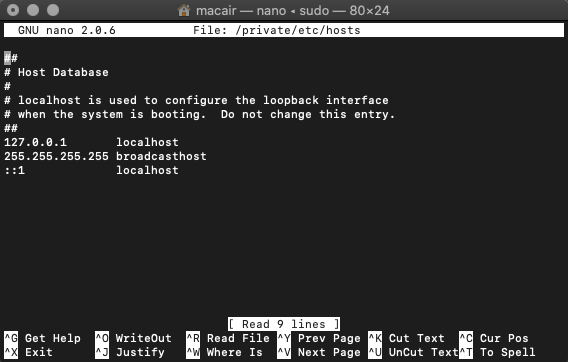
sudo nano /private/etc/hosts
- You will be asked to enter your user password. Type it in and hit Enter.
- The hosts file will now open.
Add your changes after the last line. - Click on Control + X to save the changes to the hosts file. You will be prompted to confirm the changes – click on Y on your keyboard.
- Then press Control+T to go back to the Terminal window.
- Enter this command in the Terminal window to force the changes to take effect:
dscacheutil -flushcache


