It’s fun knowing that Divi builder has a button module which allows you to add button elements to your page. You’ll love exploring customization options for your buttons on the builder! Here are a few easy steps on how to get started on that.
1. Login to WordPress.
2. On your dashboard, find Pages, then click on All Pages.

3. For this tutorial, let’s go with the Homepage. Hover your mouse over the Home section and click on Edit With Divi.

4. You will be directed to the Divi Builder, where you will see an actual look of your page. Scroll to the button text that you want to edit. Hover over the button text and click on the gear icon.
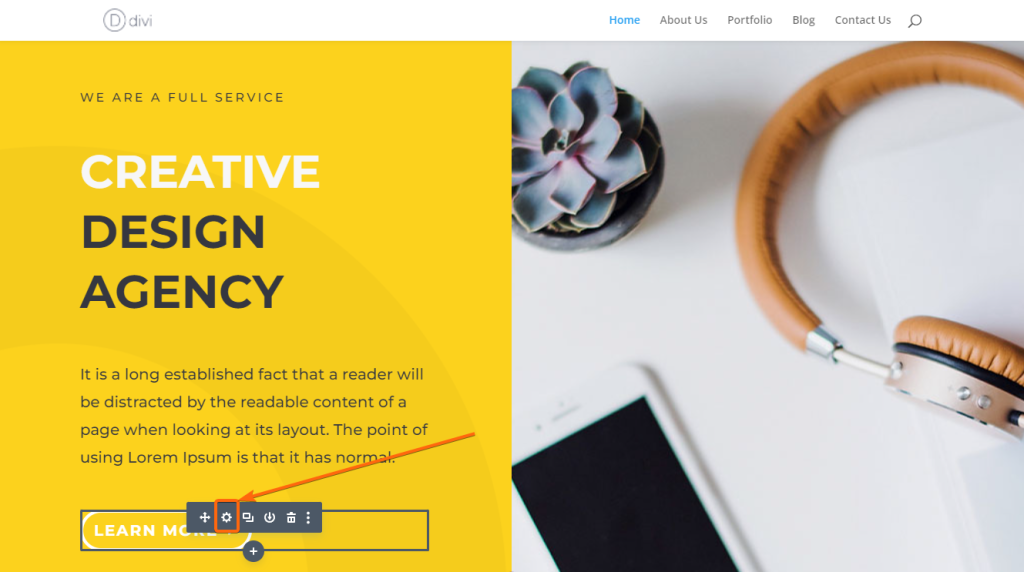
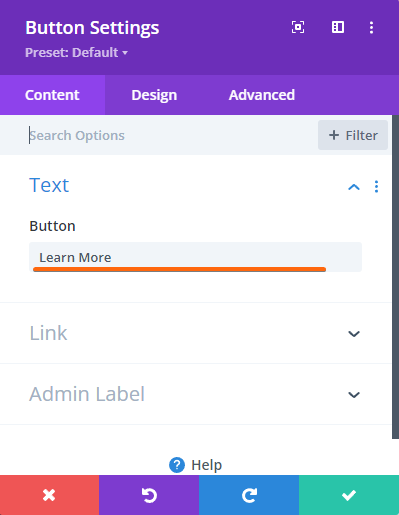
5. This window will appear where you can modify the text and the URL. Let’s edit the text first.
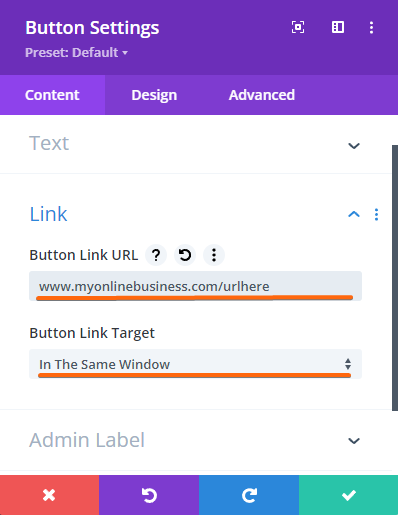
6. Then click on the dropdown for Link where you can edit the URL. Enter your preferred URL on the Button Link URL field. This is where the user will be directed to once they click on the button. You can also change the Button Link Target, if you want the link to open in the same window or in a new tab.
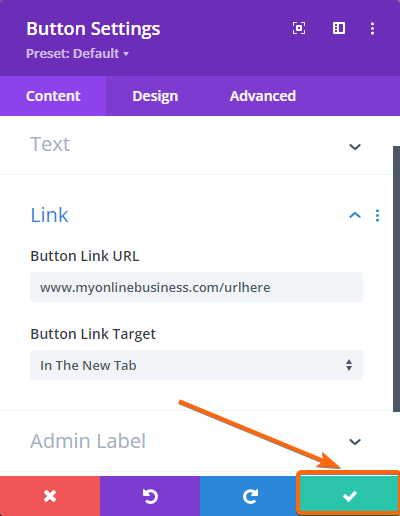
7. Click on the check button to save your changes.
8. Towards the top of the page, click on Exit Visual Builder.
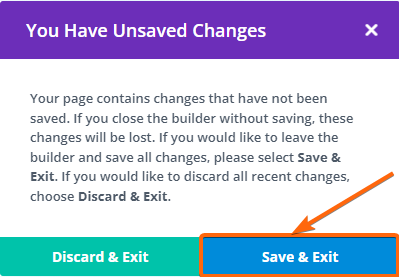
9. Click on Save & Exit.
Button modules are just one of the action elements that allow your visitors to take a positive step on your content. There are a bunch of customization options offered by this module like adding a gradient background or adding an icon to the button. We encourage you to have fun with it and play around with the customizations. Otherwise, you can always go back to this tutorial to review these easy steps. Enjoy!


