An MX (mail exchanger) record allows you to route the emails you receive from your domain, to another web domain or email hosting service that you have.
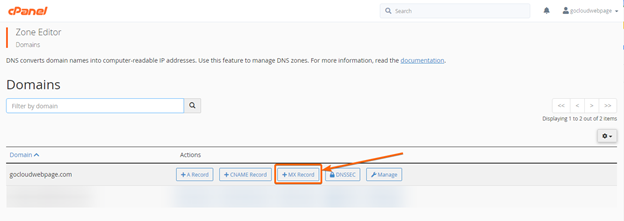
- On your cPanel homepage, go to Zone Editor (under Domains).

- Select the domain you will add an MX record for, and click + MX Record.

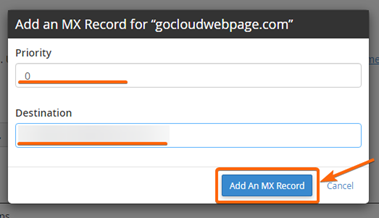
- The rest of the screen will be grayed out, and this window will appear:
Type in the Priority number (the lower the number, the higher priority level), and the Destination (the domain where your emails will be routed to).
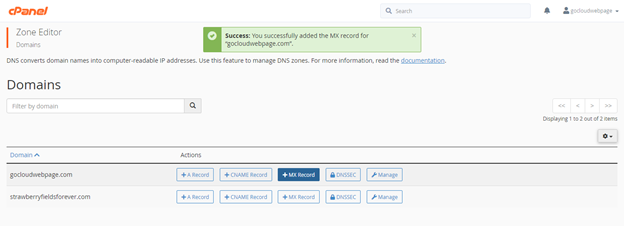
You can now click on Add An MX Record. - A message will appear to confirm that the MX record was added successfully.
To proceed, go to this article to know how to configure email routing via cPanel.


